DIY Easter Crafts For Kids
Fun and easy Easter crafts you can do with your kids!
Using items and ingredients you probably have at home these DIY Easter crafts will take less than 30 minutes to do. these activities will keep your kids entertained while getting into the spirit of Easter and the spring season.
From slime to bunny ears, get creative with your little ones (or older kids!) and enjoy time without the screens. We have put together 5 crafts that involve different skills like cutting, gluing, and measuring. Will a kid be able to do these? Yes, even your toddlers will be able to participate! The best part these crafts use items you have stocked at home and can be accomplished in under 30 minutes.

Easter Egg Bath Bombs
Got some plastic eggs ready for your Easter egg hunt? Don't fill them with candy just yet! Use those plastic eggs to create colorful bath bombs that will get your kids excited for bath time!
What You'll Need
- 1 cup Citric Acid
- 2 cups Baking Soda
- 1 tsp Olive Oil
- Food Coloring
- Witch Hazel in a Spray Bottle
- 3 drops Essential Oil (Lavender and Cedarwood make a great combo!)
- Plastic Easter Egg
- Small Plastic Toy (optional)
Method
- In a large bowl, combine the citric acid and baking soda. Mix well.
- Add the olive oil and 3 drops of your favorite essential oil or blend. Stir to combine.
- Add a few drops of food coloring of your choice. Do not add more than a few drops, as more will cause the bath bomb mixture to fizz. For multiple colors, split the batch into equal parts for each color. Stir to mix in color.
- Spray the bath bomb mixture with witch hazel with only a few quick sprays.
- Tightly pack the bath bomb mixture into the bottom of a plastic egg.
- If you want to add a prize to your bath bomb, place it in the middle of the egg, halfway into the mixture already added to your egg.
- Add more mixture around the prize, and fill the top half of the egg with the bath bomb mixture.
- Close the egg and wipe away any excess mixture on the sides.
- Cover your egg in tin foil, and leave overnight to harden.
- Once your bath bomb is dry, remove the tin foil and gently remove the bath bomb from the plastic egg. It may take a few minutes for the bath bomb to wiggle out.
- Store in an airtight container until use.
- Add the bath bomb to a warm bath when ready to use, and watch it fizz!

DIY Bubbles
While we need to practice social distancing, that doesn't mean you can't get outside for a bit and enjoy the early spring weather! These DIY bubbles are great for giving kids a project to work on and something fun to play with!
What You'll Need
- 1 cup warm water
- 1 tsp Sugar
- 3-4 Tbsp Castile Soap
- Bubble Wand
- 3 drops of Essential Oil (try a bright, fun oil like Orange!)
Method
- Mix the sugar and water together in a bowl until the sugar is dissolved.
- Add the castile soap and essential oils, and stir to combine.
- Dip the bubble wand into the soap mixture, and blow bubbles to your heart's content!

Toilet Roll Easter Bunnies
Get ready for Easter Sunday with this fun craft! Since we've all stocked up on toilet paper, this is a fun way to put those empty rolls to use.
What You'll Need
- Empty Toilet Paper Roll
- White Paint
- Small Googly Eyes
- Pipe Cleaners
- Small Pom Poms
- White Cardstock
- Colored Cardstock
- Strong Liquid Glue
- Black Sharpie
Method
- Paint the toilet paper roll with white paint. You may need to do a few coats.
- While the paint dries, make bunny ears by tracing an ear shape on the white cardstock and cutting them out. Make smaller ear shapes out of colored cardstock, and glue them on top of the white ear cutouts.
- Once the paint is dry, glue two small googly eyes to your toilet paper roll.
- Twist three small pipe cleaners together in the center, making whiskers for your bunny. You can cut a larger pipe cleaner into 3 equal smaller parts if you do not have small pipe cleaners.
- Glue a small pom pom in the center of your pipe cleaner whiskers. Then glue the pipe cleaners, pom pom side up, to the toilet paper roll just beneath the eyes.
- Glue the ears to the top of the toilet paper roll. Be sure the colored part of the ears is on the same side as the bunny's face. You can glue the ears to the inside of the toilet paper roll to cover the cut ends.
- Use the Sharpie to draw a little mouth beneath the whiskers.
- Your Easter toilet roll bunny is done! Enjoy as it hops around the house!

Essential Oil Slime
Slime is a simple, fast, and fun craft that can keep kids entertained for hours! You can add a calming aroma by adding essential oils that help keep kids happy during playtime.
What You'll Need
- A 4-oz bottle of Elmer's Glue
- 1 tsp Baking Soda
- 4-6 drops of Essential Oil (we suggest Lavender, Orange, or Immune Strength)
- Contact Solution
- Airtight Container
- Plastic Spoon
Method
- Pour the entire bottle of Elmer's glue into a glass mixing bowl or disposable bowl.
- Add the baking soda, and mix with a plastic spoon.
- Slowly add contact solution to the glue mixture, one tablespoon at a time, and mix well until the glue does not stick to the sides of the bowl.
- Add more contact solution until you achieve the right consistency. The slime should not stick to the bowl or your fingers when you touch it.
- Once you have reached the right consistency, add your essential oils and knead into the slime.
- Store in an airtight container when not in use.
Pro Tip: Try using glitter glue or colored glue for a fun look! You can also add confetti, jelly foam cubes, poof balls, or fake snow to your slime for fun textures and effects!
Pro Tip: For some spring-inspired slime, use clear glue, and add spring-themes confetti and glitter!

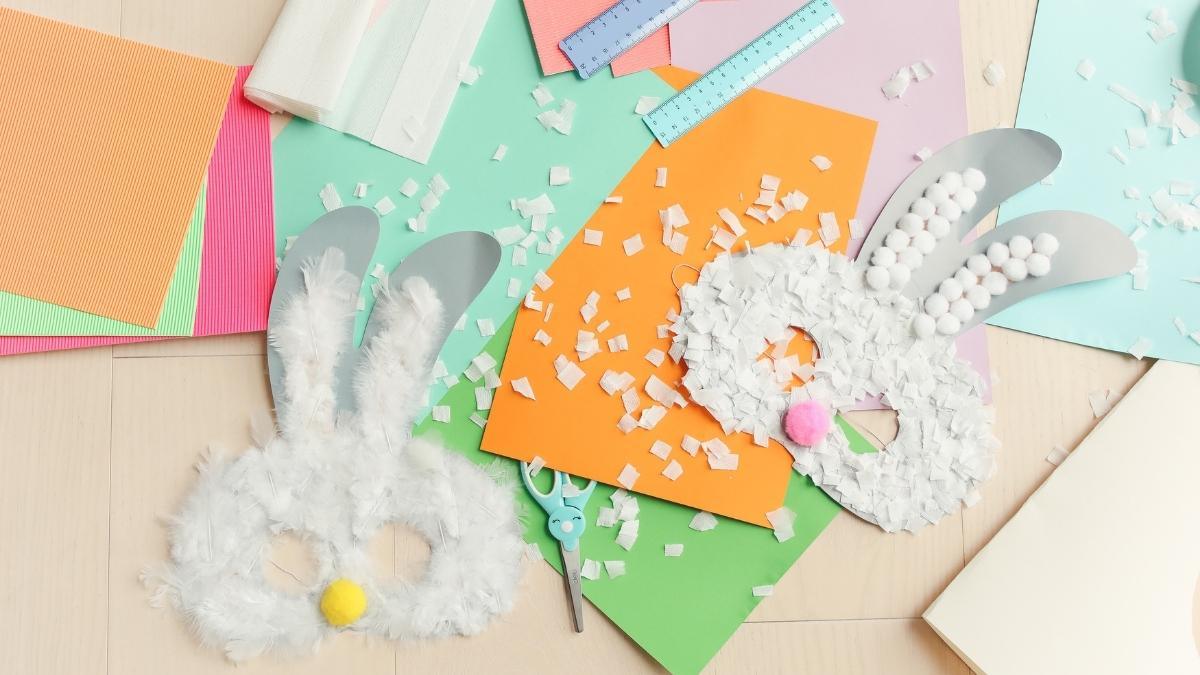
DIY Easter Bunny Ears
Enjoy the Easter holiday with a pair of Easter Bunny ears for each of your kids! This simple craft will have your kids hopping around the house and getting their energy out!
What You'll Need
- Headband
- Colorful Drinking Straws
- Two Pipe Cleaners
- Scissors
- Hot Glue Gun (optional)
Method
- Bend each pipe cleaner in half.
- Cut the straws into small pieces (about 1/2 to 1 inch long). The smaller the pieces, the more flexible your bunny ears will be. Make sure all segments are about the same length.
- Slide the straw pieces onto the pipe cleaners. You can alternate colors in a pattern, do a single color, or do a random sequence.
- Attach the ears to the headband by wrapping the ends of the pipe cleaners around the headband a few times. You can also hot glue the ends of the pipe cleaners to the headband if you prefer.
- Put on your headband, and enjoy hopping around!
We hope you all have a wonderful Easter weekend! We would love to see what you created using these DIY crafts, take a picture and share it in the comments below.